Hey Everyone!
Recently, I've been feeling pretty creative, and have so many craft projects I'm excited to try out (eg studding shorts, tie dying/ombre shorts) and one of my must DIYs was glitter nail polish. I saw a post (here) on The Beauty Department and decided that it seemed simple enough. Of course, being me, I kind of strayed from their guide and made up my own rules.
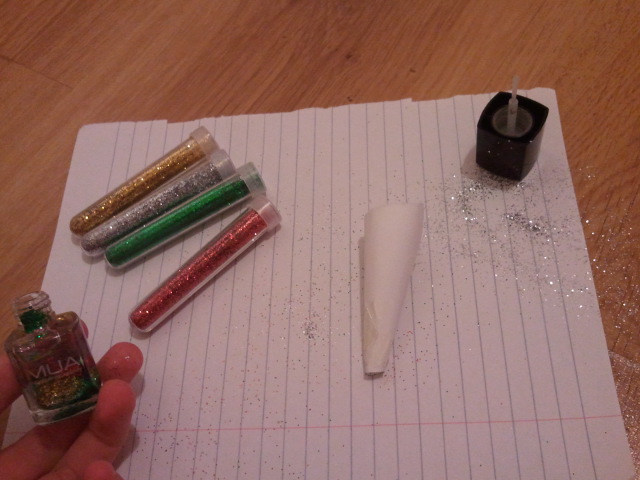
What I used:
Large piece of paper (as a mat)
Small piece of paper (for funnel)
Sellotape
MUA Clear Nail Varnish £1
The Works 4 Assorted Glitter Tubes 99p
What I did:
Roll the small piece of paper into a funnel shape and secure with sellotape.
Remove the cap of the nail varnish and place the funnel in the top.
Begin pouring in the glitter. I started with a cap full of each. As you can see, the silver glitter got away from me a little.
Screw on the top of the nail varnish bottle and shake really well.
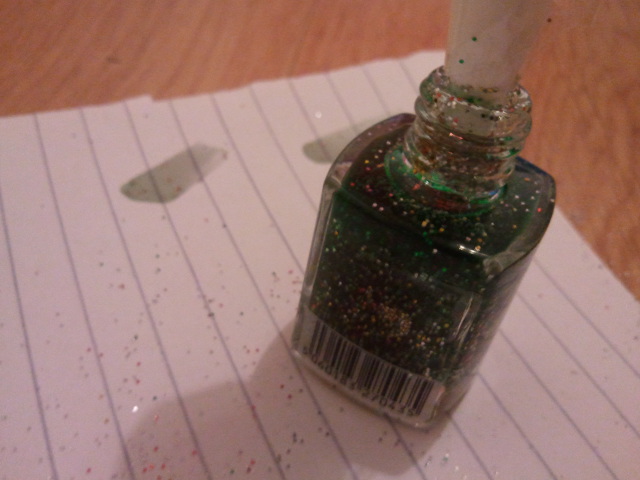
As you can see, the glitter wasn't very dense at this stage- so add more!
I had a bit of a problem with the green glitter kind of taking over, even though I had used them in equal quantities. Just judge how much of each colour to put in by how the bottle looks.
Shake, shake and shake some more.
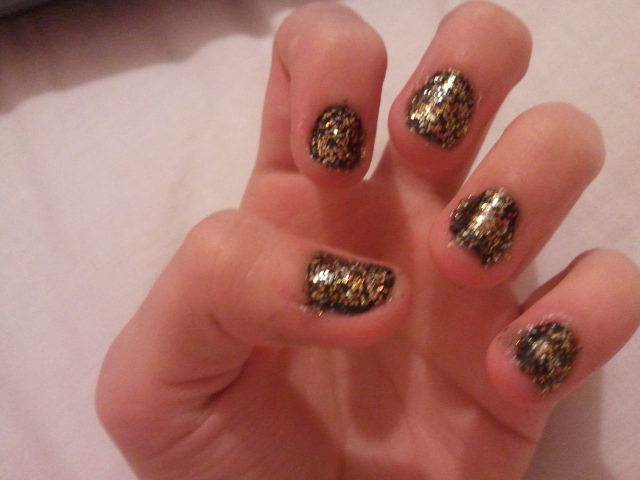
Use the varnish. Even though I heaped the glitter into the bottle, I had to do quite a few coats for the nail to be covered. Note: I used a black base coat.
The varnish was SUPER runny and I stained my bed applying it- argh!
I realise I should have probably stuck to the one colour- as the four mixed in together is a bit weird looking, but hey ho there's only one way to learn these things. Also, since I made this, the red and green glitter flecks seem to have dissolved into the varnish (must be some chemical they contain) so now its pretty much a silver and gold glitter polish. But hey- not bad for £1.99!
Have you tried making your own glitter nail varnish? Any other DIY projects on the go?


Love this. Think it would make a great present for someone if you tailored it to their favourite colours and re-labelled the bottles x
ReplyDeleteOoh what a great idea! I might give that a go <3 xx
DeleteAhh this is an amazing idea. I'm a sucker for some glitter so will definitely be giving this a go! xoxo
ReplyDeleteThanks! Oh yeah definitely do and let me know how you get on! :) xx
Delete